My wife and I are staying with my folks for a couple of weeks before we move to SF. My father mentioned that it'd be nice if he could get his non-HomeKit power outlet switches working with HomeKit somehow, despite not being supported.
I figured there was a way to do this since both of them have local HTTP APIs that one can access programmatically. I didn't expect it'd be so easy. Within a few minutes, I had Homebridge up and running on a Linux VM controlling a Ubiquiti mPower mini outlet, confirming that it could be done.
My father preferred to use a spare Raspberry Pi. Below are the steps to get his setup working (two mPower outlets, one TP-LINK (Kasa) HS100, and a Chamberlain garage door) so that it can be easily repeated if necessary. Feel free to skip the steps for devices that you don't have.
Prerequisites
- Raspberry Pi with raspbian-jessie installed
- Ubiquiti mPower mini and/or TP-LINK HS100 (for exact instructions)
Initial Setup
I generally followed the instructions on the Homebridge GitHub repo. Supplemented with how to install Homebridge on a Pi.
1. Install NodeJS
First, install NodeJS. The easiest way to install it on more modern Pis is here. Unfortunately, the spare Pi I used was an old Pi 1, which means I needed to get an older version of node (v11 was the latest I could find) that works with ARMv6 chips.
wget https://nodejs.org/dist/latest-v11.x/node-v11.15.0-linux-armv6l.tar.xz
tar xJvf node-v11.15.0-linux-armv6l.tar.xz
mkdir -p /opt/node
mv node-v11.15.0-linux-armv6l/* /opt/node/
update-alternatives --install "/usr/bin/node" "node" "/opt/node/bin/node" 1
update-alternatives --install "/usr/bin/npm" "npm" "/opt/node/bin/npm" 1
2. Install Avahi
Next, install the packages so that Avahi/Bonjour work (required by HAP-NodeJS):
apt-get install libavahi-compat-libdnssd-dev
3. Install Homebridge
Finally, install Homebridge and create a blank config file:
npm install -g homebridge
touch ~/.homebridge/config.json
4. Set up Homebridge config file
Pretty simple. Just copy and paste this into ~/.homebridge/config.json.
I recommend changing the name, username (looks like a MAC address, but it's not), and pin fields. But leave the rest default.
{
  "bridge": {
    "name": "HomePi",
    "username": "01:23:45:67:89:AB",
    "port": 51826,
    "pin": "987-65-432"
  },
  "description": "Simple config file.",
  "ports": {
    "start": 52100,
    "end": 52150,
    "comment": "This section is used to control the range of ports that separate accessory (like camera or television) should be bind to."
  }
}
5. Run it
To verify that it works, run it and ensure you see the QR code and setup PIN (debug logging turned on:
DEBUG=* /opt/node/bin/homebridge

6. Add to Home
Homebridge now needs to be added to the Home app on iOS. Go to Add Accessory, then scan the QR code that shows up on the Pi's screen.
Once this is done, any devices that are configured through Homebridge will show up automatically under the Home app.
Ubiquiti mPower mini outlet
I used the Homebridge mPower plugin.
Install the plugin:
npm install -g homebridge-mpower
Add the mPower platform and outlets to the Homebridge configuration (~/.homebridge/config.json):
"platforms": [
    {
      "platform": "mPower",
      "name": "mPower",
      "outlets": [
        {
          "name": "MFi 8b1038",
          "username": "ubnt",
          "password": "ubnt",
          "url": "192.168.1.101",
          "id": "1"
        },
        {
          "name": "MFi 885B5F",
          "username": "ubnt",
          "password": "ubnt",
          "url": "192.168.1.102",
          "id": "1"
        }
      ]
    }
  ]
If it fails, verify that your config validates with JSONLint.
Note that the id for both outlets is 1; mPower mini must always be set to 1. See the repo for more info.
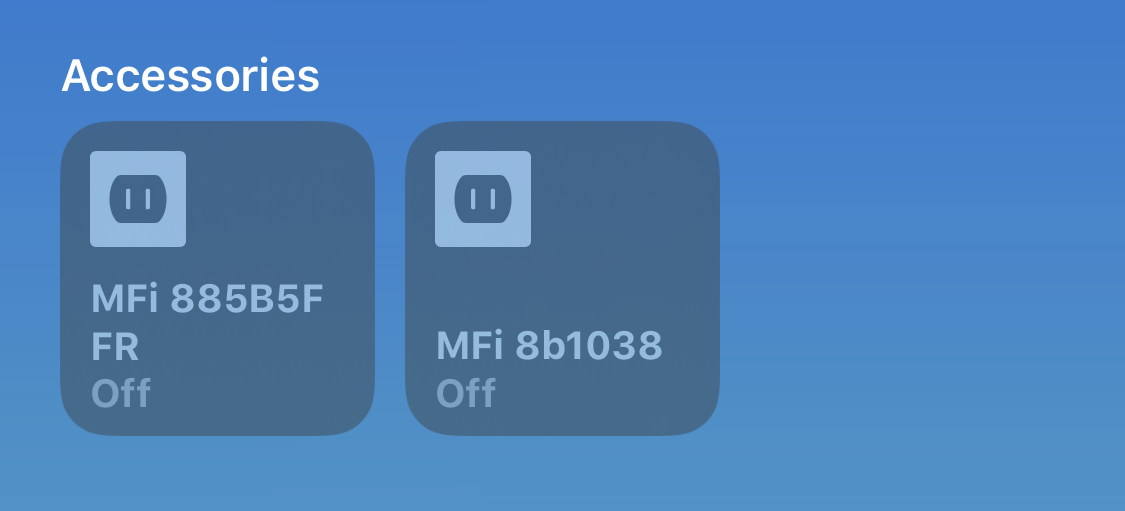
You should see your mPower outlets appear in the Home app automatically:
TP-LINK SmartHome
I used the Homebridge TP-LINK Smarthome plugin.
Install the Homebridge plugin:
npm install -g homebridge-tplink-smarthome
Add the platform to the Homebridge configuration (~/.homebridge/config.json):
    {
      "platform": "TplinkSmarthome",
      "name": "TplinkSmarthome"
    }
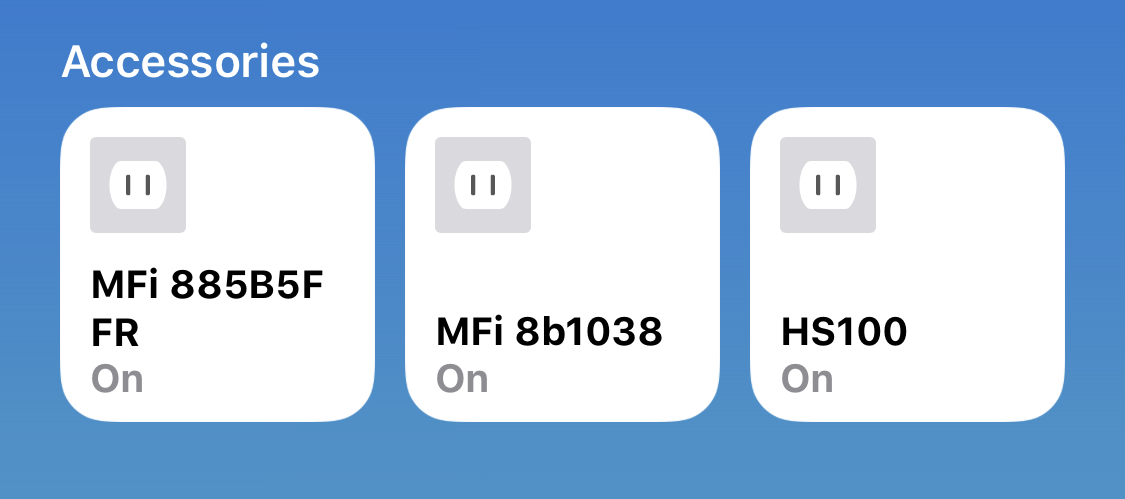
Once you restart Homebridge, the HS-100 should show up in the Home app shortly after that.
Chamberlain Garage Door
I used the Homebridge Chamberlain plugin.
Install the Homebridge plugin:
npm install -g homebridge-chamberlain
The setup and config for this is a bit different. Rather than adding it in the platforms, it's added in the accessories section, which needs to be created.
  "accessories": [
    {
      "accessory": "Chamberlain",
      "name": "Garage Door",
      "username": "[email protected]",
      "password": "your_password",
      "deviceId": "your_device_id"
    }
  ],
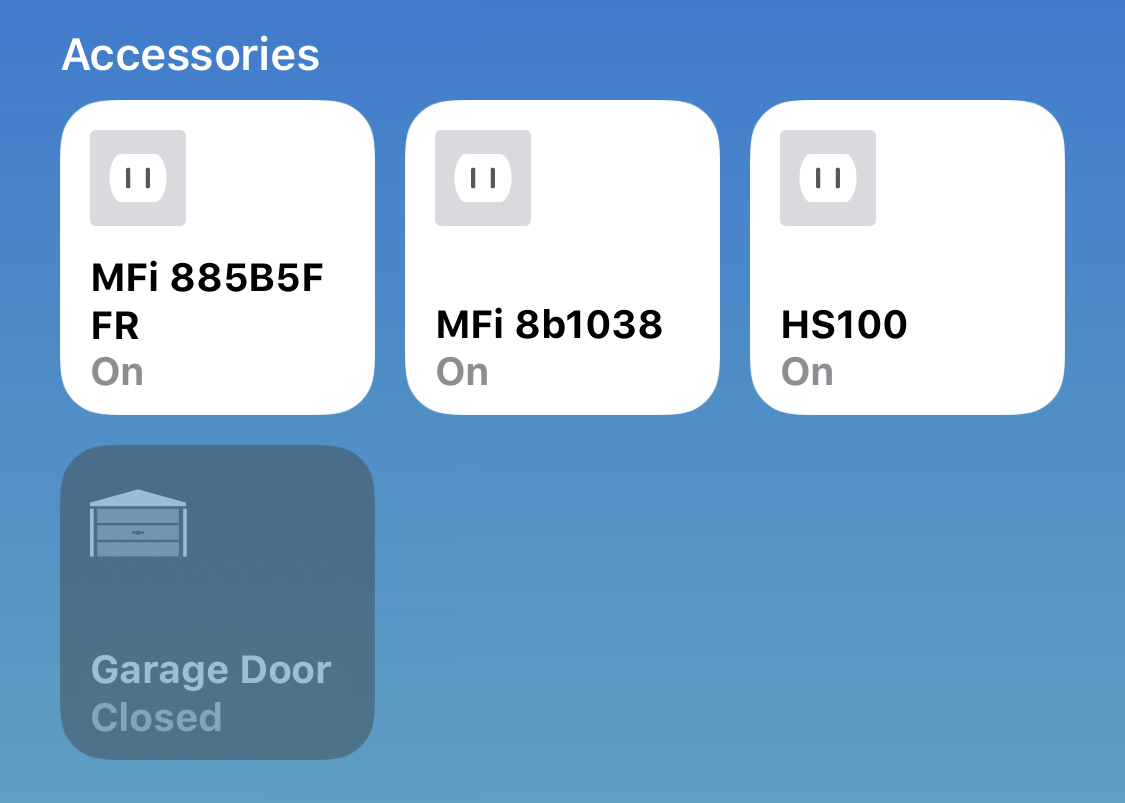
Restart homebridge. If restarts without any issue, you should be good to go.
If you see:
Error: Multiple controllable devices found: CG0800000111, CG06A1000111, GW0100000111
Try setting the device ID in the config to each of the devices in the list and seeing which one actually opens the garage door in the Home app, or just fails with an error. For me, the first device ID (CG0800000111) worked but the other two didn't.
Persistency
To make Homebridge persistent (start up on startup/reboot) using pm2:
npm install -g pm2
/opt/node/bin/pm2 startup
/opt/node/bin/pm2 start /opt/node/bin/homebridge
/opt/node/bin/pm2 save
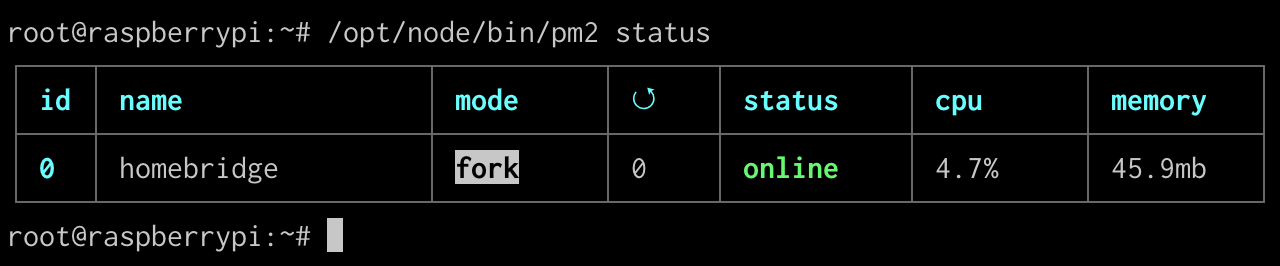
To verify that it's running:
/opt/node/bin/pm2 status
You should see something like this:
Addendum
Command Reference
Run homebridge in terminal:
/opt/node/bin/homebridge
Run homebridge in terminal with debug-level logging:
DEBUG=* /opt/node/bin/homebridge
Start homebridge daemon:
/opt/node/bin/pm2 start /opt/node/bin/homebridge
Stop homebridge daemon:
/opt/node/bin/pm2 stop /opt/node/bin/homebridge
config.json
{
  "bridge": {
    "name": "HomePi",
    "username": "01:23:45:67:89:AB",
    "port": 51826,
    "pin": "987-65-432"
  },
  "description": "Simple config file.",
  "ports": {
    "start": 52100,
    "end": 52150,
    "comment": "This section is used to control the range of ports that separate accessory (like camera or television) should be bind to."
  },
  "accessories": [
    {
      "accessory": "Chamberlain",
      "name": "Garage Door",
      "username": "[email protected]",
      "password": "your_password",
      "deviceId": "your_device_id"
    }
  ],
  "platforms": [
    {
      "platform": "mPower",
      "name": "mPower",
      "outlets": [
        {
          "name": "MFi 8b1038",
          "username": "ubnt",
          "password": "ubnt",
          "url": "192.168.1.101",
          "id": "1"
        },
        {
          "name": "MFi 885B5F",
          "username": "ubnt",
          "password": "ubnt",
          "url": "192.168.1.102",
          "id": "1"
        }
      ]
    },
    {
      "platform": "TplinkSmarthome",
      "name": "TplinkSmarthome"
    }
  ]
}